

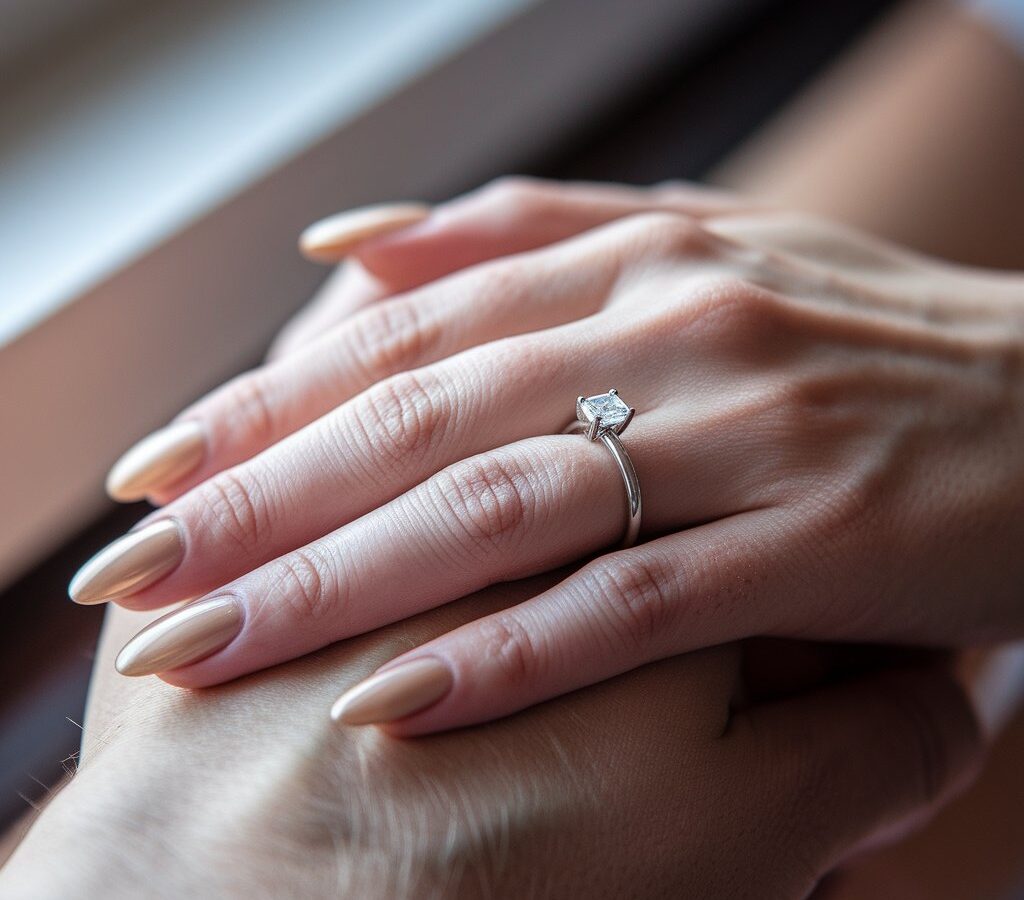
Most brides spend weeks deciding on a nail color and maybe a finish, then think very little about shape until a photographer asks them to hold their hand a certain way and the picture on the back of the camera looks nothing like they pictured. The ring shot is one of the few wedding photographs where a hand is the entire subject, not a supporting detail in a wider frame, and shape has more influence over how that photo turns out than color usually does.
This is worth thinking through before the big day rather than during it, since a manicure appointment happens on a schedule that photography does not always accommodate. The goal here is to look at how different nail shapes actually behave in this specific kind of close-up photo, not as a general style guide, but as a practical look at what holds up once a hand is sitting still under a macro lens.
Why a Ring Shot Behaves Differently From Every Other Wedding Photo
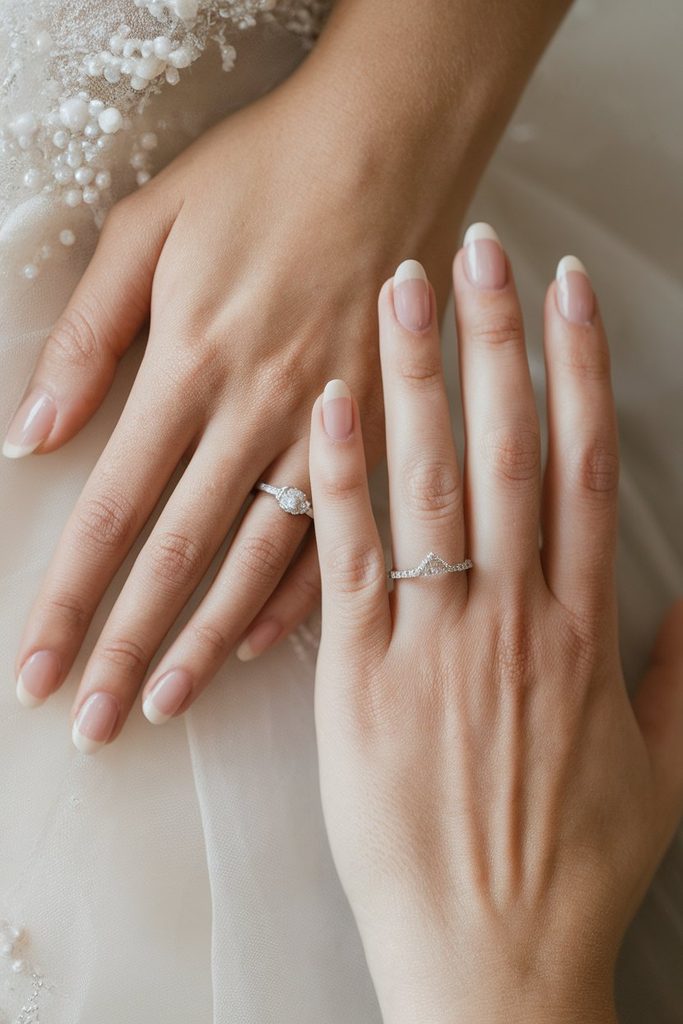
A ring shot is usually captured at extremely close range, often with a macro lens that fills the entire frame with just a few square inches of hand. That framing changes what actually gets noticed. In a full-length photo, a slightly uneven nail edge or a shape that does not quite suit the finger disappears into the overall picture. At macro range, there is nowhere for it to hide.
The hand is also usually held still and often slightly curled or draped, rather than moving naturally, which means the camera has time to register texture, tip shape, and how light falls along the side of each nail. This is different from how a manicure gets judged in daily life, glanced at in passing rather than studied at close range under directional light, which is exactly why a shape that looks fine across a dinner table can read differently once it is the entire subject of a photograph.
What Nail Length Does to the Frame
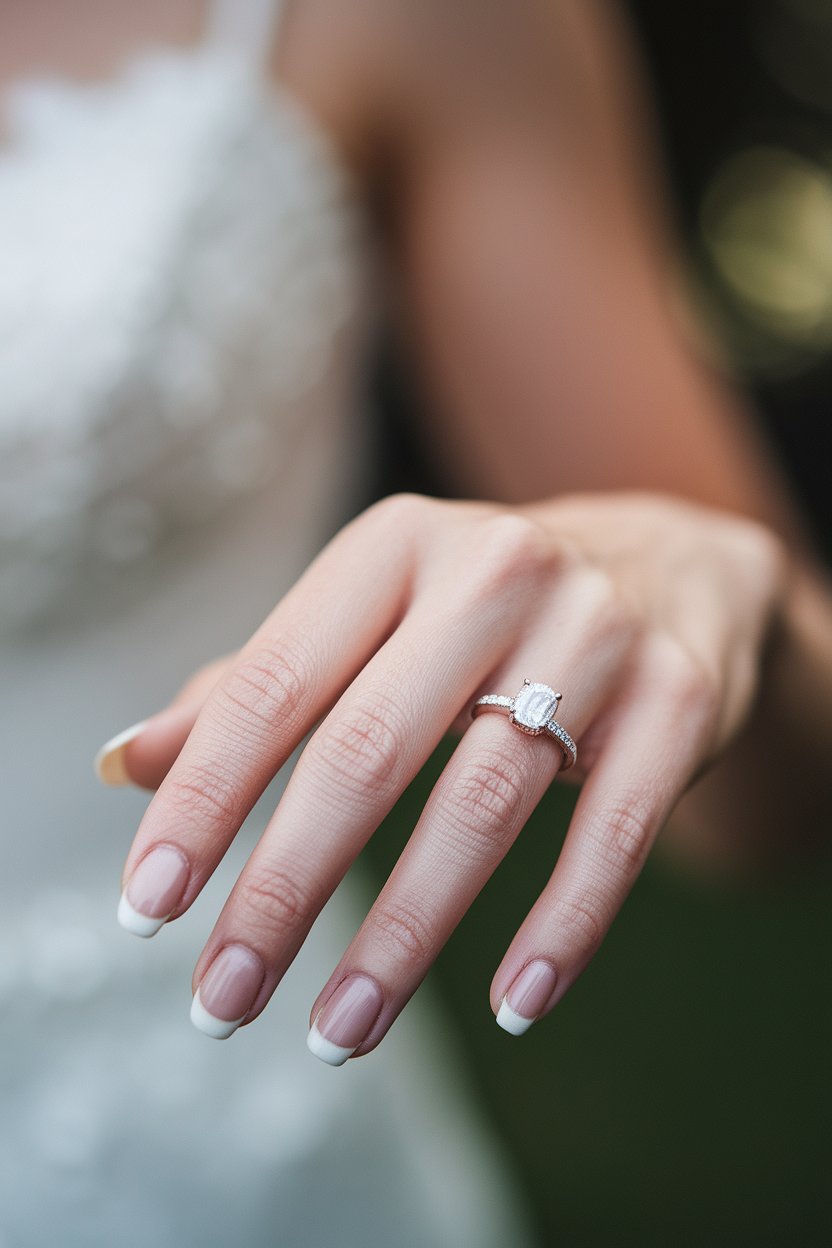
Length matters more in a ring shot than in almost any other context, mostly because of how tightly the photo is cropped. A very long nail can extend past where the photographer intended to end the frame, pulling the eye toward the tip of the finger instead of the ring itself. A very short nail can leave awkward negative space at the fingertip, particularly in poses where the hand curls slightly toward the camera.
Medium length, generally landing just past the fingertip, tends to give a photographer the most flexibility. It reads clearly in both a relaxed, draped hand pose and a more curled, closed pose without needing to be reshaped between the two. This is not a rule against longer or shorter nails, since plenty of ring shots work beautifully at either extreme, but it does mean length deserves a conversation with whoever is doing the trial manicure, ideally alongside a mock version of how the hand will actually be posed for photos.
The Shapes Worth Considering, One at a Time
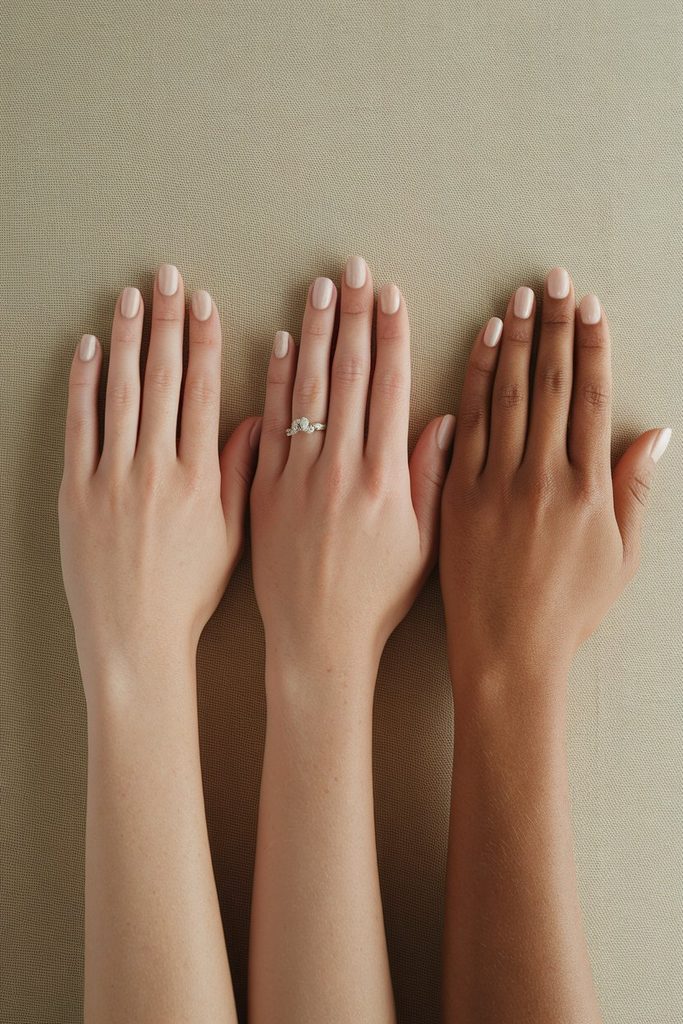
Shape affects how light travels across the nail and how much of the nail bed is visible in a tightly cropped photo. A few shapes consistently perform well in this kind of close, still photography.
Oval
An oval shape follows the natural curve of the fingertip, which keeps the eye moving smoothly from the base of the nail to the tip without any sharp interruption. In a ring shot, this tends to photograph as soft and classic, and it rarely fights with whatever pose the photographer chooses, since there is no pointed edge to catch light unpredictably.
Soft Square and Squoval
A soft square, sometimes called squoval, keeps straight sides with gently rounded corners. This shape photographs cleanly because the flat tip creates a defined edge that reads clearly even at a distance, while the rounded corners avoid the slightly harsh look a perfectly sharp square edge can have under close, direct light.
Round
A round shape sits close to the natural nail bed and rarely extends far past the fingertip, which makes it forgiving in almost any hand pose. It tends to disappear into the overall photo in the best possible way, drawing attention toward the ring rather than the nail itself, which is worth considering for anyone who wants the ring to be the obvious focal point.
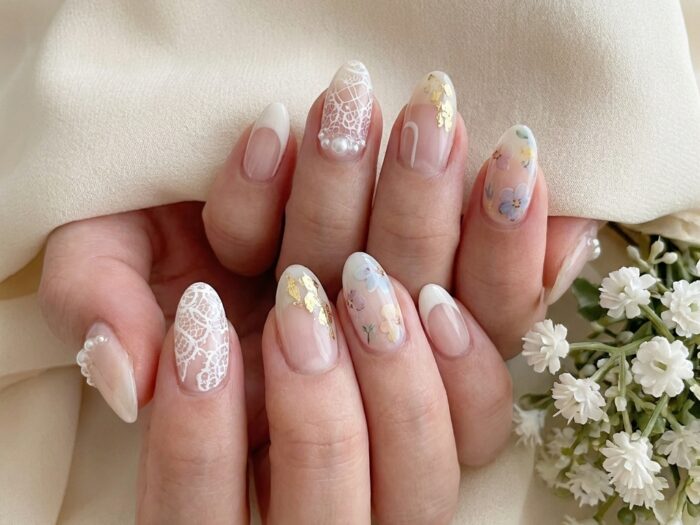
Almond
An almond shape narrows slightly toward a rounded point, which elongates the appearance of the finger. This reads particularly well in photos where the hand is posed with fingers slightly spread or gently curled, since the tapering shape follows the natural line of the finger rather than working against it.
Coffin, or Ballerina
A coffin shape has a squared, flat tip with tapered sides leading up to it. It photographs with a distinctly modern, structured look, and the flat tip in particular tends to catch light in a way that reads clearly even in a slightly darker or more shadowed ring shot. This shape works best at medium length, since a very long coffin nail can start to compete with the ring for visual attention.
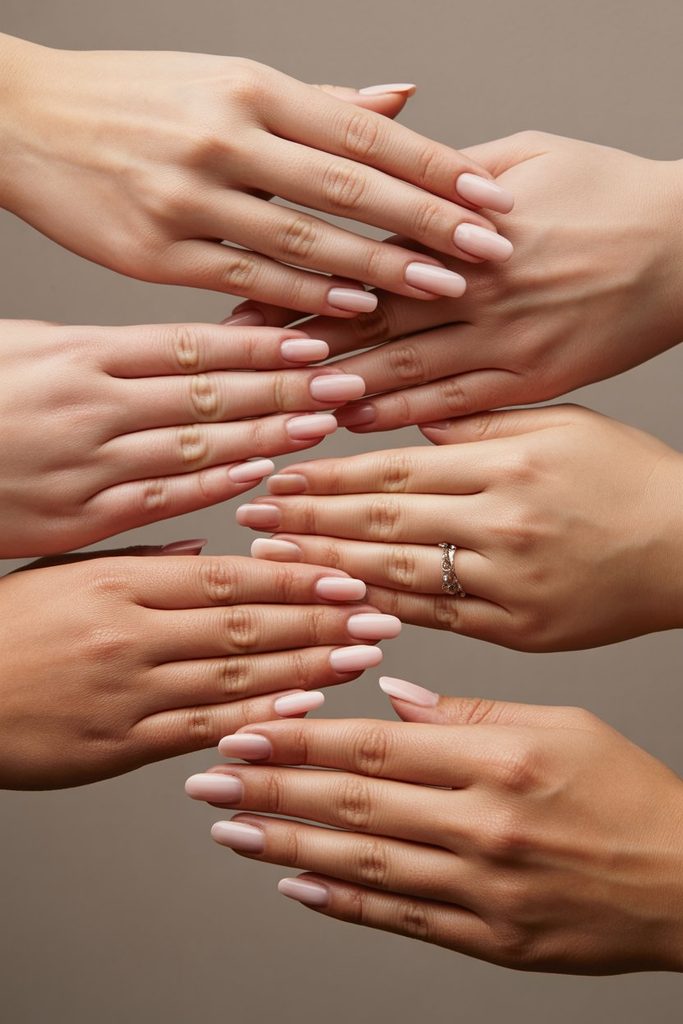
Shapes That Tend to Work Against a Ring Shot
A few shapes and lengths can make the photo harder to compose well, even when the manicure itself looks polished in person.
Very long, sharply pointed stiletto shapes tend to draw the eye toward the tip of the finger rather than the ring, which works against the actual point of the photo. Extremely short, squared-off nails with almost no white tip visible can look slightly flat under close, directional light, since there is very little edge for light to catch and define. And any shape with uneven length across the fingers, even by a small amount, becomes far more noticeable at macro range than it would in everyday viewing, since the camera has nothing else in the frame to distract from the inconsistency.
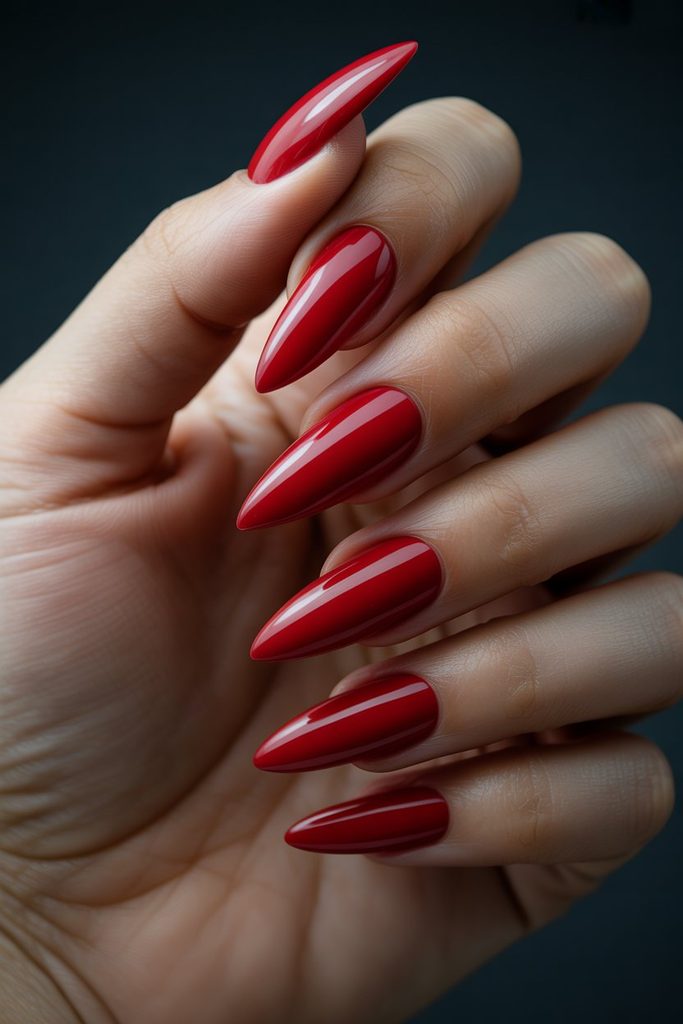
How the Ring Itself Changes the Ideal Shape
The ring being photographed is not a fixed variable. Different ring styles carry different amounts of visual weight, and nail shape can either support that or compete with it.
A solitaire or halo setting already draws a lot of attention on its own, since the stone sits raised and catches light from multiple angles. A simpler nail shape, like a round or soft oval, tends to let that detail stay the clear focal point rather than adding a second competing element to the frame. A wider vintage band or a heavily detailed setting benefits from a similarly understated nail shape for the same reason, letting the ring’s own detail carry the photo.
A slim, delicate band or a stacked, eternity-style set of rings can handle a slightly more structured nail shape, like a squoval or coffin, without the two competing, since the ring itself reads as more minimal and leaves room for the nail shape to add some of its own visual interest.
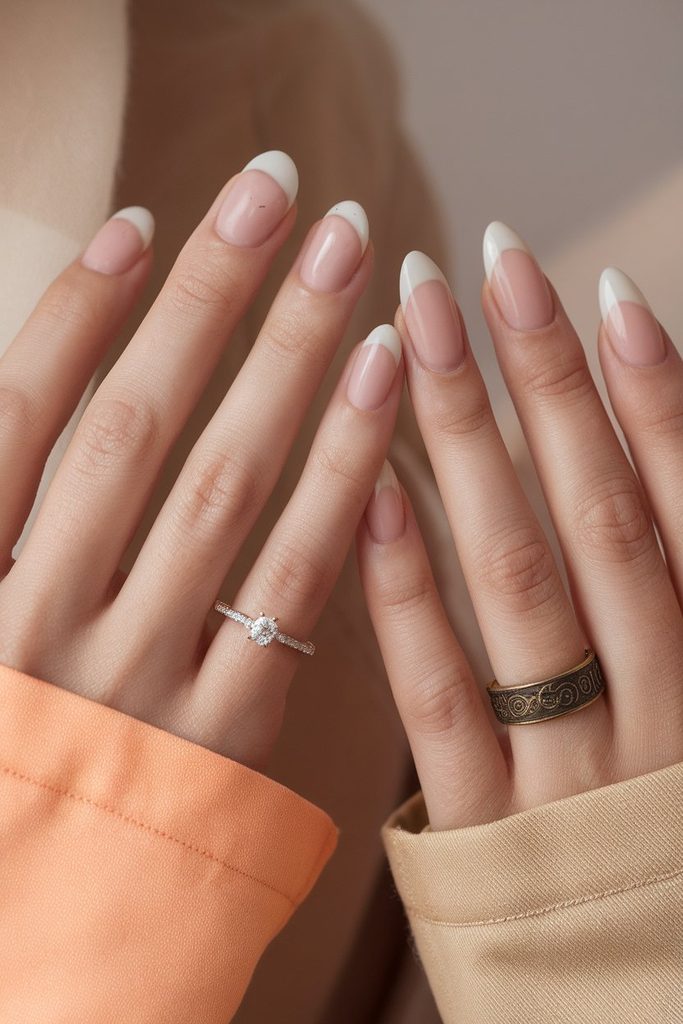
Hand Pose and Nail Shape Work Together
Photographers generally choose between a few standard poses for a ring shot, and shape reads differently depending on which one is used.
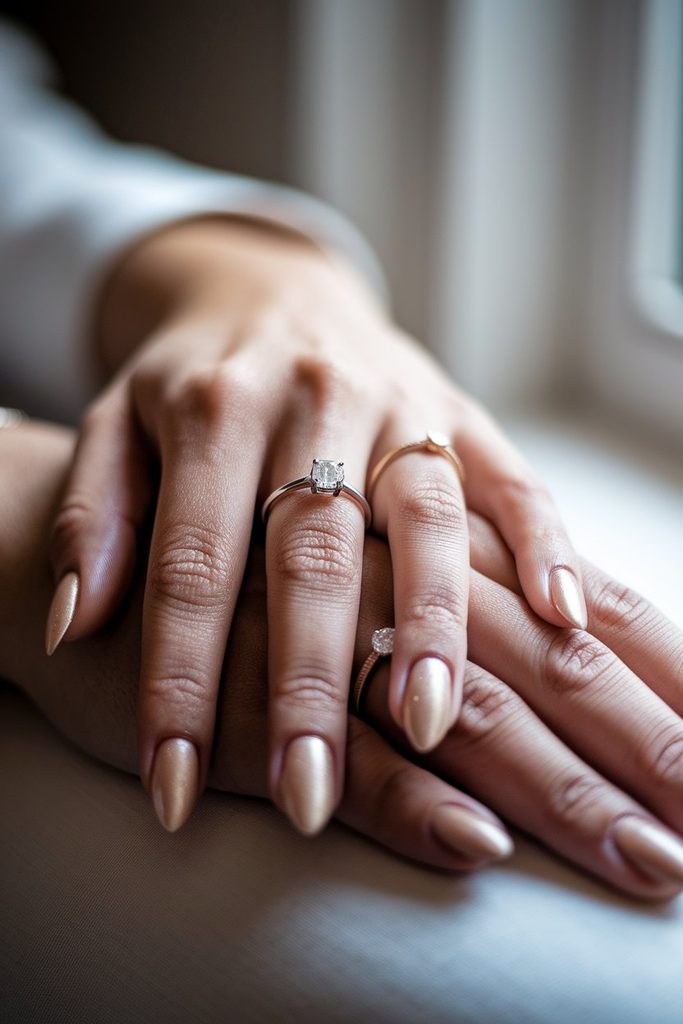
A relaxed, draped hand, resting loosely over a partner’s hand or against fabric, tends to suit softer shapes like oval and almond, since the fingers are naturally slightly curved and a rounded nail shape follows that same line. A more structured pose, where fingers are held straighter and closer together, often works well with squoval or coffin shapes, since the flatter tip reads clearly along a straighter finger line.
Interlocked hands, a common pose for showing both partners’ rings at once, tend to photograph best with a consistent, moderate length across both hands, since any noticeable difference in shape or length between the two hands becomes obvious once they are placed side by side in the same frame. It’s worth mentioning this pose specifically to a nail technician ahead of time if it is likely to be part of the day’s photo list, similar to how certain wedding dress necklines change how a hand naturally rests against the bodice in portraits.
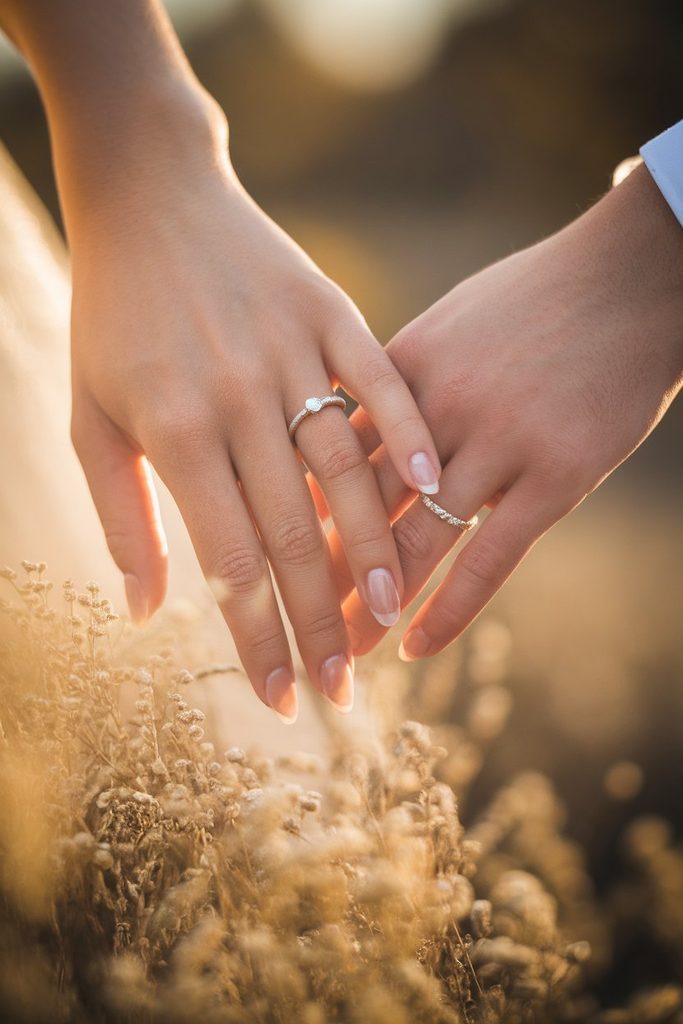
Finish and Color Considerations for the Camera
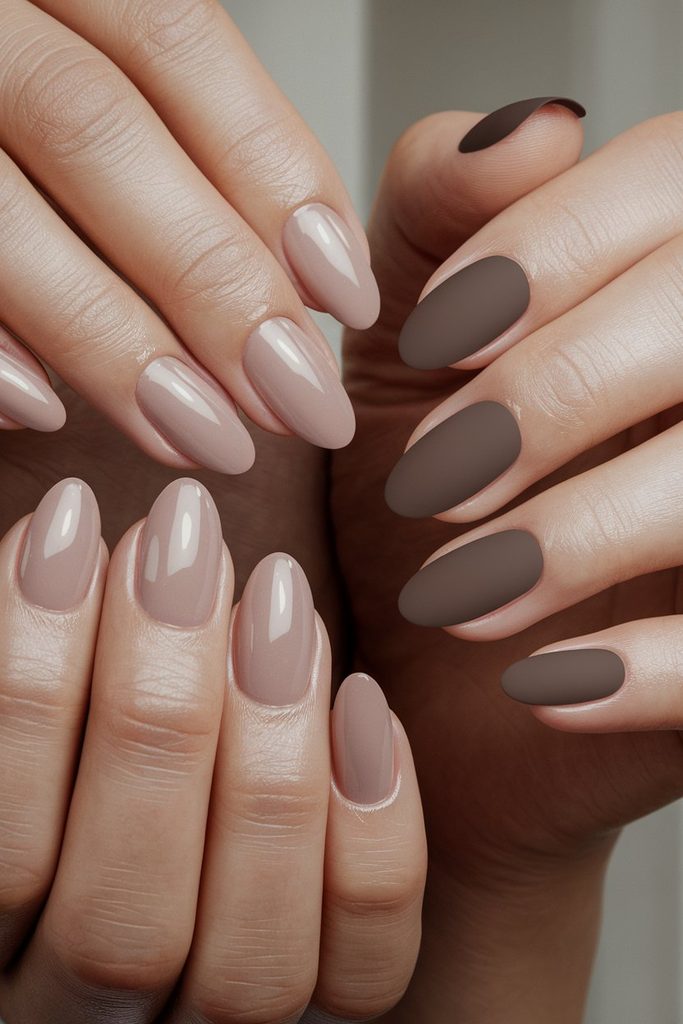
Shape carries most of the weight in this discussion, but finish plays a supporting role worth a brief mention. A glossy finish reflects light in a small, defined highlight, which tends to photograph cleanly and helps define the edge of whatever shape has been chosen. A matte finish absorbs more light and can occasionally look slightly flat under a camera flash, though it photographs well in soft, natural window light.
Color choice for a ring shot specifically tends to favor lighter, more neutral tones, since darker or more saturated colors can pull focus away from the ring itself in a tightly framed photo. For anyone drawn to a quieter, more neutral palette generally, the ideas covered in this guide to minimalist nail colors translate well into ring-shot territory, since restraint in color tends to serve the same purpose there that it does anywhere else.
Getting the Shape Set Before the Wedding
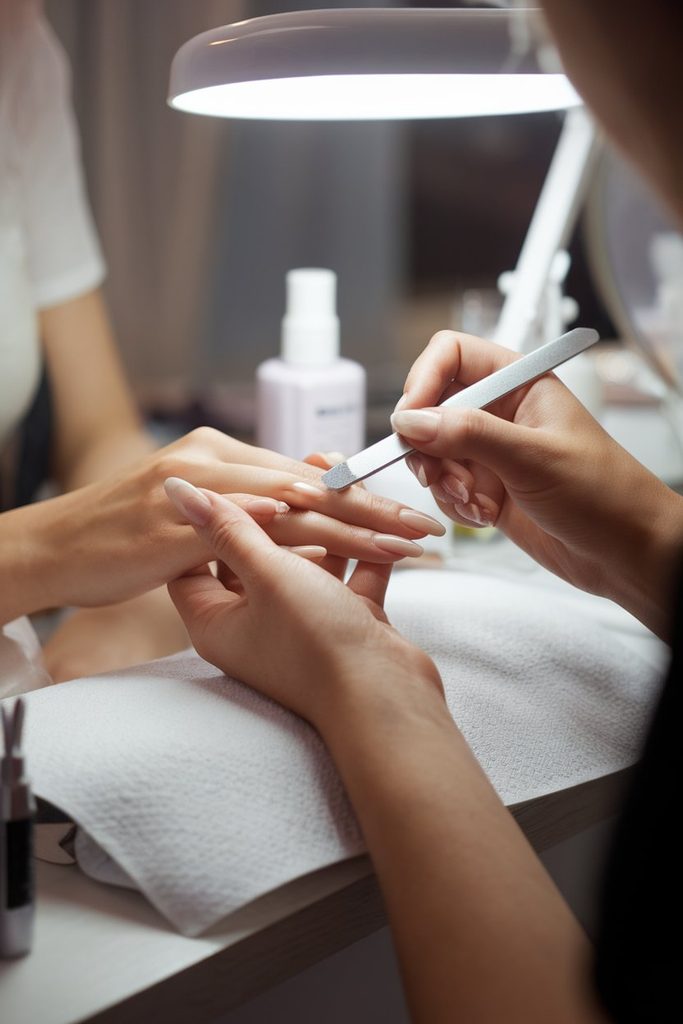
Nail shape is not something to finalize the morning of the wedding. A trial appointment, ideally scheduled a few weeks ahead, gives enough time to see how a shape actually looks in photos rather than just in the mirror, and enough time to adjust if the length or shape needs a small correction before the final appointment.
It helps to bring a phone and take a few close-up test photos during the trial itself, mimicking the kind of tight framing a ring shot will use, rather than relying on how the manicure looks from a normal viewing distance. This is a similar logic to scheduling a hair trial well ahead of the wedding rather than testing a style for the first time on the day itself, since both give room to make small adjustments while there is still time.
Nail condition matters here too, not just shape. Ridges, dry cuticles, or uneven nail beds become more visible at macro range than they would in everyday viewing, so keeping nails in good condition in the weeks leading up to the wedding, following general nail health guidance from board-certified dermatologists, tends to matter as much as the shape and polish chosen for the day itself.
Common Ring Shot Nail Mistakes
A handful of small oversights tend to show up repeatedly in ring shots, even when the manicure itself was carefully chosen.
- Changing shape or length right before the wedding. A last-minute switch skips the chance to see how the new shape actually photographs, which is exactly what a trial is meant to prevent.
- Ignoring uneven length between hands. This becomes far more visible in an interlocked-hands pose than it does in daily life.
- Choosing a shape based only on how it looks from above. A ring shot is often photographed from the side or at a slight angle, so it helps to check a shape from a few different angles, not just looking straight down at the hand.
- Overlooking cuticle and nail bed condition. Polish and shape get most of the attention, but the skin and nail bed around them are just as visible at macro range.
- Not mentioning the ring shot to the nail technician at all. A technician who knows this specific photo is planned can shape and finish the nails with that close-up framing in mind, rather than styling purely for everyday wear.
Choosing a bridal nail shape does not need to turn into a technical decision made from a photography manual. It comes down to a few practical facts: how close the camera will be, how the hand will likely be posed, and what kind of ring is going to sit at the center of the photo. Working from those three points, rather than picking a shape purely from a mood board, tends to produce a ring shot that holds up exactly as well printed and framed years later as it did on the back of the camera that day.
For more ideas on bridal beauty details worth planning ahead of time, the nail design collection covers a wider range of shapes and finishes beyond what fits into wedding-day planning alone.

Ella is a fashion and beauty writer who shares inspiring ideas about hairstyles, nail designs, wedding outfits, and seasonal fashion trends. She loves discovering fresh styles and creating…
View Author Profile →
3 Comments