

On this page
- Why Curly, Thick Hair Needs a Different Approach
- How Curl Pattern Changes the Right Approach
- Cutting Techniques Worth Discussing With a Stylist
- Pixie Variations That Work Well on Thick, Curly Hair
- Matching a Pixie Shape to Face Shape
- A Product Routine That Keeps Curl Definition Intact
- Color Placement and Curl Definition
- Growing Out or Adjusting a Curly Pixie
- Maintenance and Trim Schedule
- What Tends to Go Wrong With Curly Pixies
- A Simple Way to Approach the Consultation
Most pixie cut inspiration photos feature straight or loosely wavy hair, which can make thick, curly hair feel like an afterthought in the conversation. This is a little misleading, since curly and coily textures can actually support some of the most dynamic pixie shapes available, once the cut is approached with the right technique.
Thick, curly hair behaves differently from fine or straight hair at every stage, from how it is cut to how it settles once dry. Understanding those differences first makes it much easier to choose a pixie variation that will actually work with the hair you have, rather than fighting against it every morning.

Why Curly, Thick Hair Needs a Different Approach
A pixie cut designed for straight hair and a pixie cut designed for curly hair are rarely built the same way, even when the end result looks superficially similar in a photo.
Curls shrink upward significantly once they dry, sometimes by several inches depending on how tight the curl pattern is. A length that looks reasonable while the hair is wet can end up much shorter than expected once it fully dries and the curl pattern pulls up. This single factor is behind more disappointing pixie cut results than almost anything else, since a cut planned without accounting for shrinkage can come out shorter and more compact than intended.
Volume is the other major factor. Thick, curly hair naturally takes up more space than straight hair of the same length, which means a pixie cut left without enough shaping can round out into a triangle or “poof” shape rather than sitting close to the head. Managing that volume through layering and thinning, without removing so much hair that curls lose their definition, is where a stylist’s experience with curly texture really matters.
How Curl Pattern Changes the Right Approach
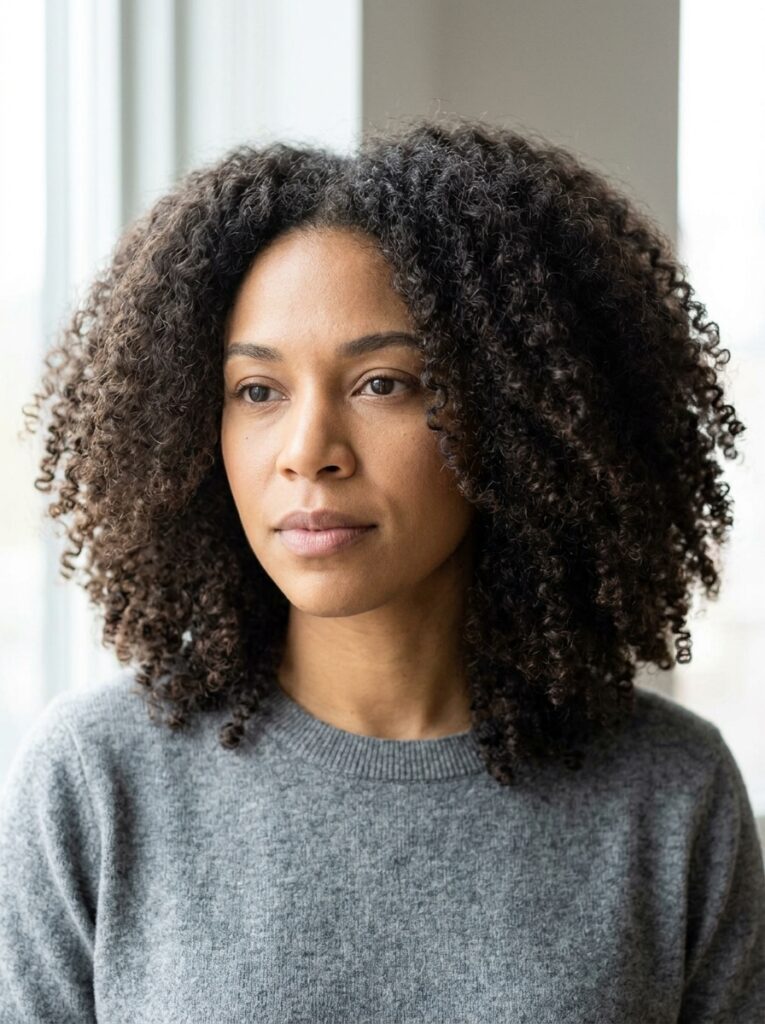
Curl patterns range from loose, looping waves to tight, springy coils, and the specific pattern involved changes how a pixie cut should be approached.
Looser, wider curl patterns tend to shrink less dramatically than tighter ones, which means the gap between wet length and dry, settled length is usually smaller. These patterns often suit pixie shapes with a bit more length left in, like a curly bixie, since the weight of the longer sections helps loosen the curl slightly and adds movement.
Tighter, more compact curl and coil patterns shrink significantly more, sometimes losing several inches between wet and fully dry. Pixie cuts on these patterns benefit the most from a dry or curl-by-curl cutting technique, since even small miscalculations in expected shrinkage can lead to a noticeably shorter result than intended. These tighter patterns also tend to hold shape and volume at the crown particularly well, which makes styles with height on top, like a tapered pixie, a natural fit.
Knowing roughly where your own curl pattern falls on this spectrum, and communicating that clearly during a consultation, helps a stylist choose both the right cutting method and the right silhouette from the start.
Cutting Techniques Worth Discussing With a Stylist
The technical approach to cutting curly hair affects the final shape as much as the style itself does.
Dry Cutting vs. Wet Cutting
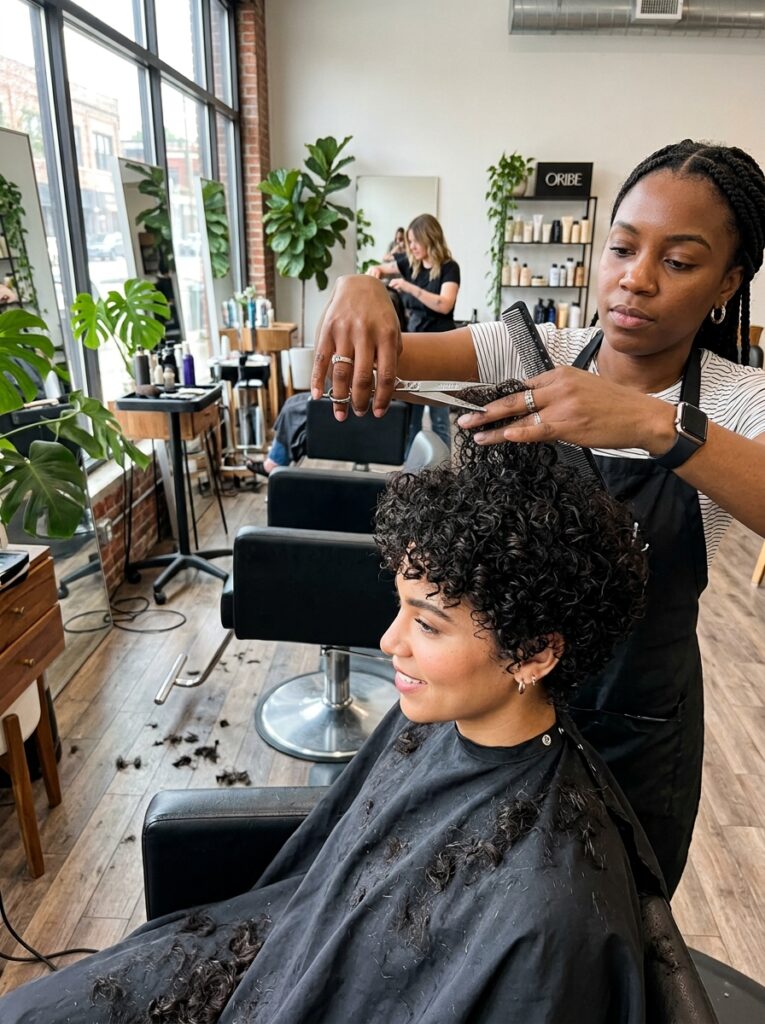
Many stylists who specialize in curly hair prefer to cut hair while it is dry, or close to fully dry, precisely because this shows exactly where each curl will land once shrinkage happens. Cutting curly hair wet, the way straight hair is traditionally cut, risks ending up with a much shorter result than intended once the curls spring back up.
Curl-by-Curl, or Channeling Technique
A more detailed method, sometimes called channeling, involves cutting individual curls or small clusters of curls according to their own shrinkage pattern, rather than cutting the whole head to one uniform length. This technique takes considerably longer than a standard cut, but it tends to produce a shape that holds its form and reduces frizz, since each curl has been cut in a way that respects its own texture rather than being forced into a uniform line.
Layering to Reduce Bulk
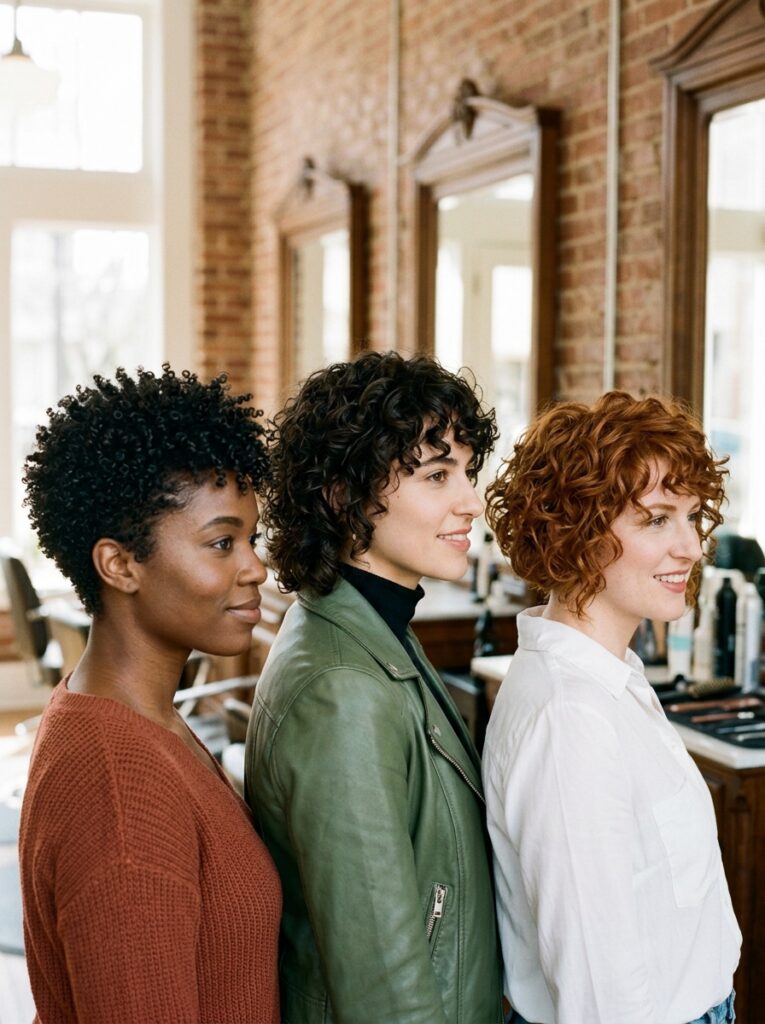
Internal layering, cut underneath the visible top layer rather than throughout the whole head, removes bulk without shortening the overall silhouette from the outside. This is one of the more reliable ways to prevent the triangle shape that can develop when thick curly hair is left too dense at the sides and back.
Pixie Variations That Work Well on Thick, Curly Hair
Once the cutting approach is right, a range of specific pixie shapes become realistic options.
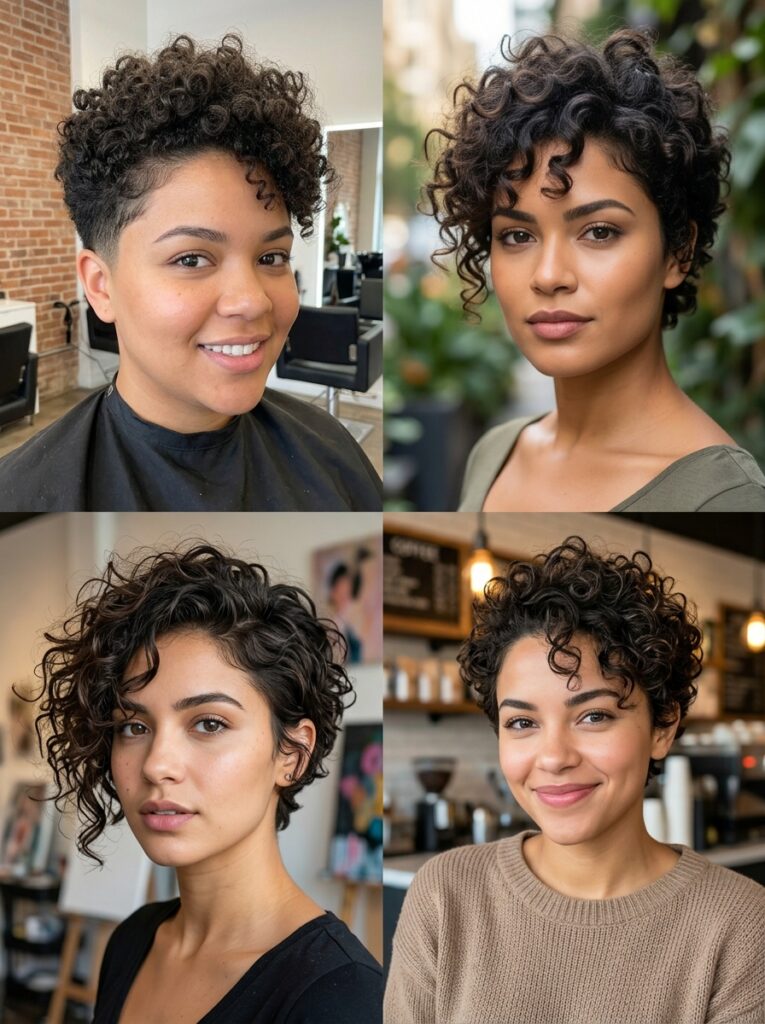
The Curly Bixie
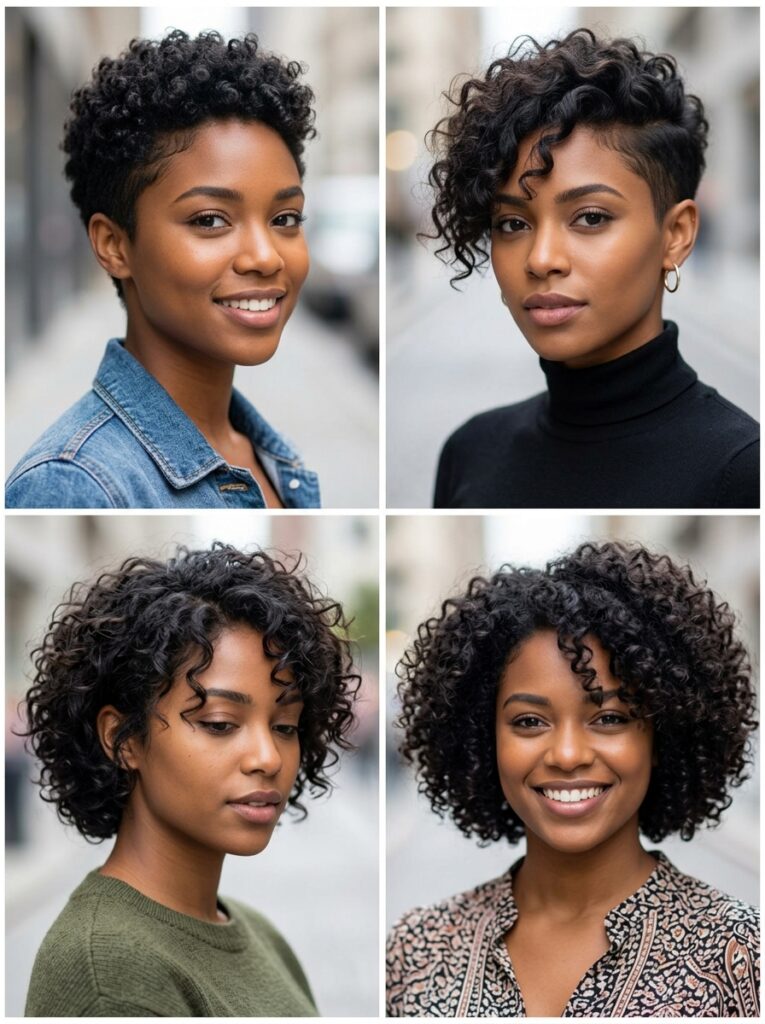
A bixie sits between a bob and a pixie, typically a bit longer through the crown and front than a classic pixie while still staying short overall. On curly hair, this extra length gives curls more room to move and spring, which tends to soften the overall shape and reduce the risk of the hair sitting too close and flat against the scalp.
Tapered Pixie with Undercut
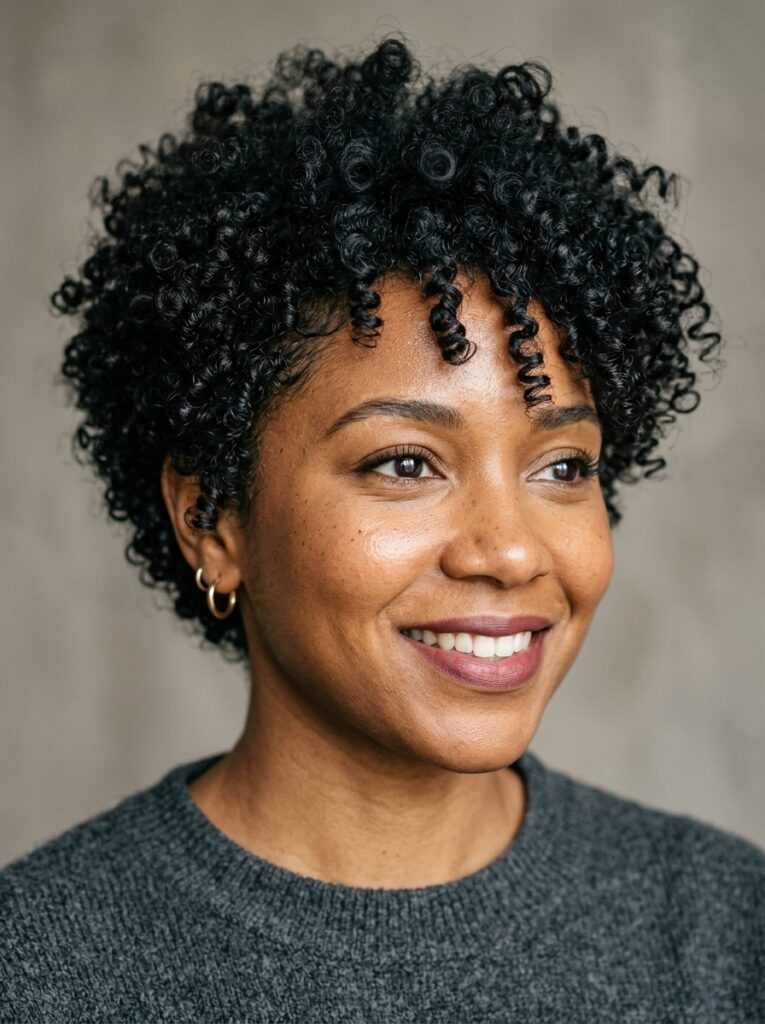
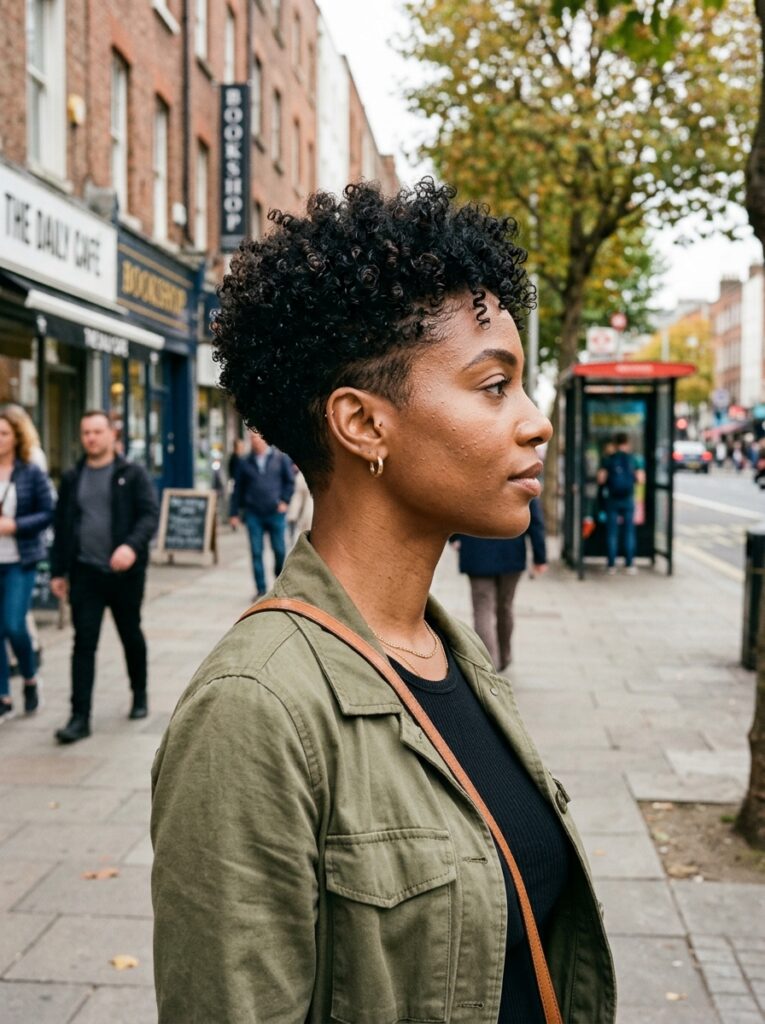
A tapered pixie keeps more length and volume through the top and crown while the sides and back taper down close to the scalp, sometimes with a distinct undercut. This creates a strong contrast between the voluminous curls on top and the closely shaved sides, which works particularly well for anyone who wants to show off curl texture without it overwhelming the entire silhouette.
Short Nape with Longer Curls on Top
Keeping the nape and lower sides very short while leaving more length through the crown and front creates a low-maintenance base with room for styling versatility on top. This variation tends to suit tighter curl and coil patterns especially well, since the shorter sections require very little daily attention while the longer top section can be styled differently depending on the day.
Shag Pixie with Bangs
Adding a shaggy, heavily layered texture throughout, paired with a full or wispy fringe, maximizes movement and works particularly well on thick hair that already has plenty of natural volume to draw from. This variation tends to look intentionally undone even with minimal daily styling, which suits curl patterns that already have their own personality.
Deep Side-Part Pixie
Sweeping the front section to one side rather than keeping a center or blunt fringe creates an asymmetrical line that adds movement without disrupting the natural curl pattern underneath. This works well for anyone who wants their curls to stay clearly defined without a straight-across fringe competing for attention.
Rounded, Soft Pixie
A pixie cut close to the head with a gently rounded overall shape controls volume without flattening the curl pattern entirely. This tends to suit denser, springier curl types that hold shape well on their own, since the rounded cut works with the natural tendency of the curl rather than forcing it into a sharper, more angular silhouette.
Matching a Pixie Shape to Face Shape
Face shape adds another layer worth considering alongside curl pattern and hair thickness.
- Round faces often benefit from added height at the crown and shorter sides, since this creates a more vertical line that balances roundness rather than adding width at the cheeks.
- Oval faces tend to suit nearly any pixie variation, since the balanced proportions of an oval face rarely clash with a particular silhouette.
- Square or angular faces often look softened by a pixie with some length and movement around the jawline, like a curly bixie or a shag pixie, rather than a very close, sharply defined cut.
- Heart-shaped faces, wider at the forehead and narrower at the chin, tend to suit a side-swept fringe or a deep side part, which draws attention diagonally rather than emphasizing the width of the forehead directly.
None of these are strict rules, and curl pattern often has as much influence on the final look as face shape does, but they are worth mentioning to a stylist during a consultation.
A Product Routine That Keeps Curl Definition Intact
The cut itself only accounts for part of how a curly pixie ultimately looks. Daily styling habits play a significant role in whether curls stay defined or lose their shape over time.
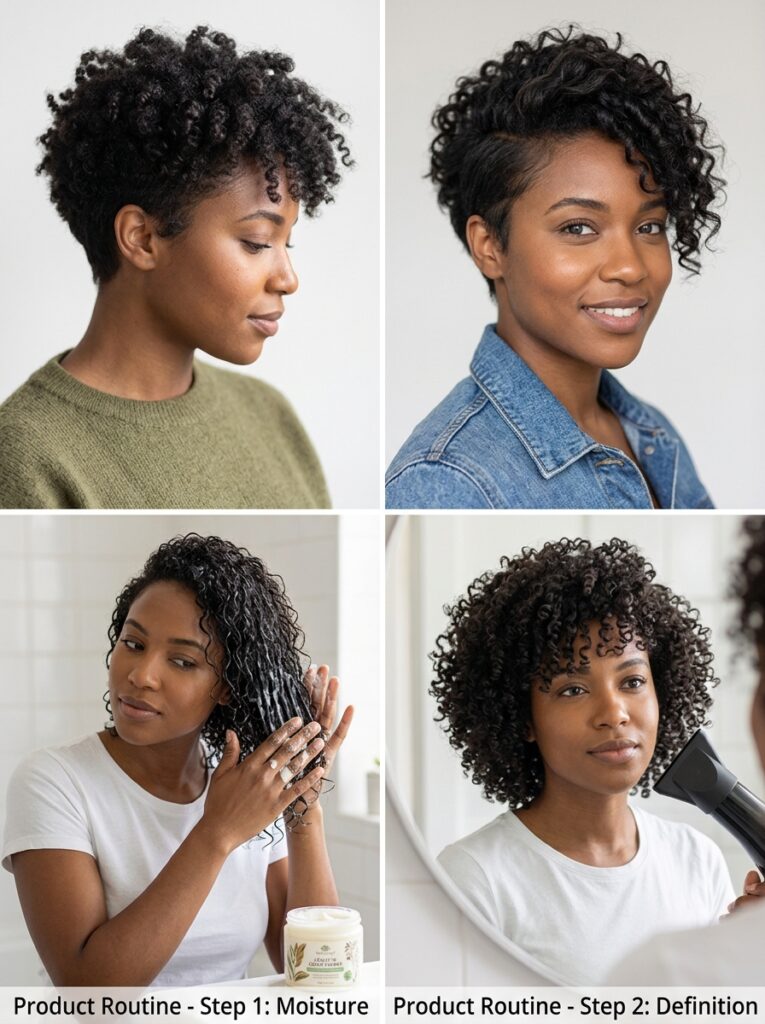
- Curl cream or gel, applied to damp hair, helps define individual curls and reduce frizz as hair dries. Scrunching the product upward into the hair, rather than smoothing it downward, tends to preserve curl pattern more effectively.
- A diffuser attachment on a blow dryer distributes airflow more evenly across curls than a direct nozzle would, which helps hair dry into its natural shape rather than being blown straight or frizzy.
- Avoiding a brush on dry curls prevents the frizz and separation that brushing tends to create. A wide-tooth comb or fingers, used only while hair is wet and coated in product, works better for detangling without disrupting curl clumps.
- A pick or wide-tooth afro comb can add volume and lift at the roots for tighter coil patterns, particularly useful for styles that rely on height at the crown.
Building a simple, repeatable routine around these steps tends to matter more for how a curly pixie looks day to day than the specific product brands involved.
Color Placement and Curl Definition
Color can add another layer of dimension to a curly pixie, and where it is placed interacts directly with how the curl pattern reads.
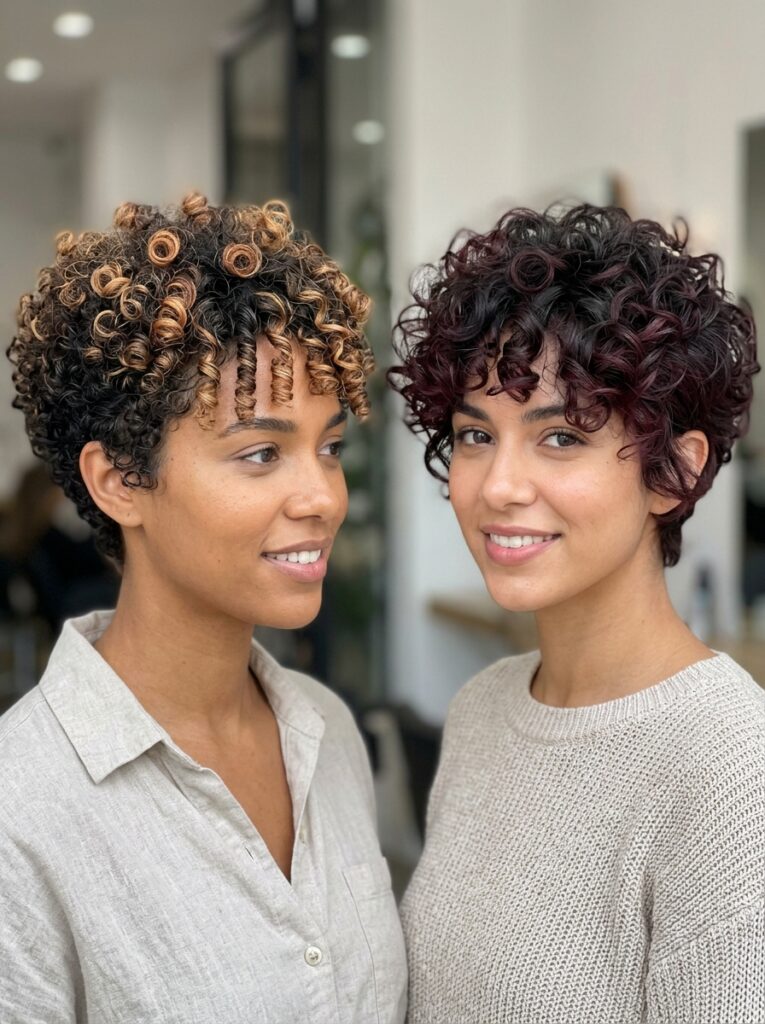
Highlights placed around the crown and front catch the light on the parts of the cut with the most visible movement, which tends to emphasize curl definition rather than flattening it. A lower-contrast approach, like subtle babylights woven through the top sections, adds dimension without drawing attention away from the shape of the cut itself.
Single-process, all-over color can sometimes make a curly pixie look slightly more uniform and less dimensional in photos, since there is no contrast to highlight where individual curls separate from one another. This is not a reason to avoid solid color entirely, but it is worth discussing with a colorist if maintaining visible curl definition is a priority alongside the color change.
Growing Out or Adjusting a Curly Pixie
At some point, many people either want to grow a curly pixie into a longer style or simply let it grow out between appointments longer than usual. Curly pixies tend to move through an awkward stage differently than straight-hair pixies, since the outward volume of growing curls can make the transition period feel more noticeable.
Adding soft layers throughout the growing-out phase helps prevent the triangle shape that can develop as the sides and back grow out faster in appearance than the top, even when growth rates are actually similar. A curl-focused stylist can usually adjust the shape gradually during this stretch, softening the transition rather than requiring an abrupt cut back down to the original pixie length.
Maintenance and Trim Schedule
Curly pixies generally need more frequent trims than straight-hair pixies, since curl shrinkage can make the shape look uneven faster as new growth comes in at a different length than the rest of the cut.
Most curly pixie cuts benefit from a trim every six to eight weeks to maintain a clean silhouette, particularly for styles with a distinct undercut or tapered sides, where new growth becomes noticeable more quickly than through the longer top sections. Skipping trims for too long tends to blur the shape that made the cut work in the first place, since curls growing unevenly can shift the whole silhouette out of balance.
What Tends to Go Wrong With Curly Pixies
A handful of common missteps show up repeatedly with curly pixie cuts, even on hair with great natural texture to work with.
- Cutting curly hair the same way as straight hair. Without accounting for shrinkage and curl pattern, a cut can come out shorter and more triangular than intended, regardless of how skilled the stylist is with straight hair.
- Over-thinning with thinning shears. Removing too much bulk with thinning shears can create frizz and disrupt curl clumps, since it cuts randomly through the strand rather than shaping the overall silhouette intentionally.
- Not accounting for shrinkage when discussing length. Communicating a desired length in terms of the dry, curled result, rather than the stretched-out wet length, avoids a common source of miscommunication between client and stylist.
- Skipping a consultation focused on curl pattern. Bringing only photos of straight-haired pixie styles, without discussing how a similar shape would translate onto a specific curl pattern, often leads to a result that does not match expectations.
- Neglecting regular trims. Letting a curly pixie grow out for too long between appointments tends to blur the shape faster than it would on straight hair, since uneven growth is more visually obvious in a curl pattern.
A Simple Way to Approach the Consultation
Walking into a pixie cut consultation with a clear plan tends to produce a better outcome than arriving with only a general idea.
- Bring reference photos of pixie cuts on hair with a curl pattern similar to your own, rather than only straight or wavy examples.
- Ask directly whether the stylist plans to cut the hair wet, dry, or using a curl-by-curl technique, and discuss which approach fits your hair type.
- Talk through how much shrinkage to expect, so the final length matches what you actually pictured rather than coming as a surprise.
- Ask about the expected trim schedule for the specific variation you choose, since some pixie shapes require more frequent upkeep than others.
- Discuss your realistic daily styling routine, since a cut that requires diffusing and product every morning may not suit someone who wants a wash-and-go option.
Working through these points before the first snip removes most of the guesswork and gives both the client and the stylist a shared understanding of what the final cut should actually look like.
Thick, curly hair and a pixie cut are far from an unlikely pairing. With the right cutting technique and a simple, consistent styling routine, curls can become the defining feature of a short cut rather than something to manage around. The variations covered here offer a starting point, but the specific combination of curl pattern, face shape, and personal styling preference will ultimately shape which version suits you best.
For more short hairstyle inspiration, the short hairstyles collection covers a range of cuts and textures, and the broader hairstyle inspiration category is worth browsing for additional ideas beyond pixie cuts specifically.


Ella is a fashion and beauty writer who shares inspiring ideas about hairstyles, nail designs, wedding outfits, and seasonal fashion trends. She loves discovering fresh styles and creating…
View Author Profile →